How to Set Up DKIM for Email Authentication
Learn how to set up DKIM for email authentication to enhance email security, improve deliverability, and protect your domain from spoofing.

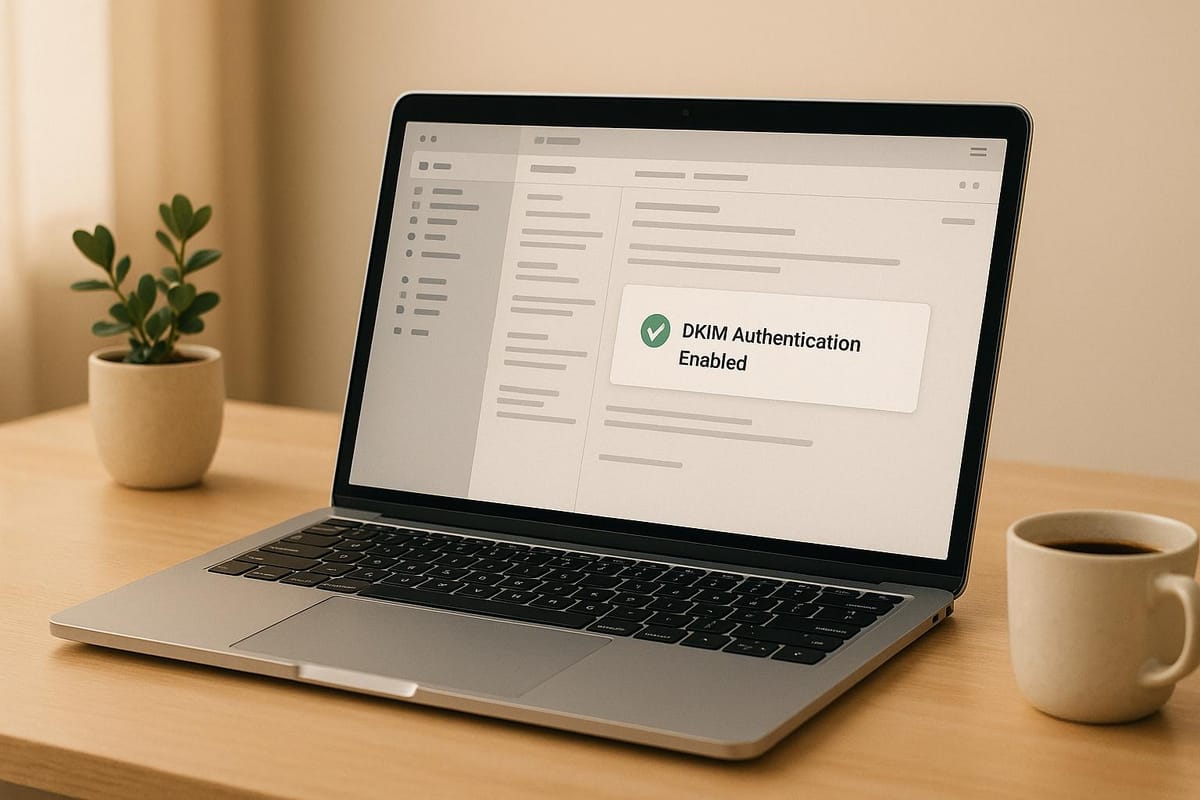
DKIM (DomainKeys Identified Mail) ensures your emails are authentic, secure, and less likely to end up in spam. It uses cryptographic signatures to verify that your emails are sent from your domain and haven’t been tampered with. Here’s what you need to know:
Why DKIM Matters:
- Boosts Deliverability: Emails with DKIM are trusted and avoid spam filters.
- Prevents Spoofing: Stops attackers from impersonating your domain.
- Protects Reputation: Builds trust with email providers and recipients.
Quick Setup Steps:
- Generate DKIM Keys:
- Use your email provider (e.g., Google Workspace, Microsoft 365) or tools like OpenSSL.
- Create a private key (for signing) and a public key (added to DNS).
- Add Public Key to DNS:
- Log into your domain registrar.
- Publish the public key as a TXT record in your DNS.
- Enable DKIM:
- Turn on DKIM signing in your email platform.
- Test Your Setup:
- Use tools like EasyDMARC or
digto confirm your DKIM record is active.
- Use tools like EasyDMARC or
Combine DKIM with SPF and DMARC:
- SPF: Verifies authorized IP addresses for sending emails.
- DMARC: Aligns DKIM/SPF with your "From" address and provides reports.
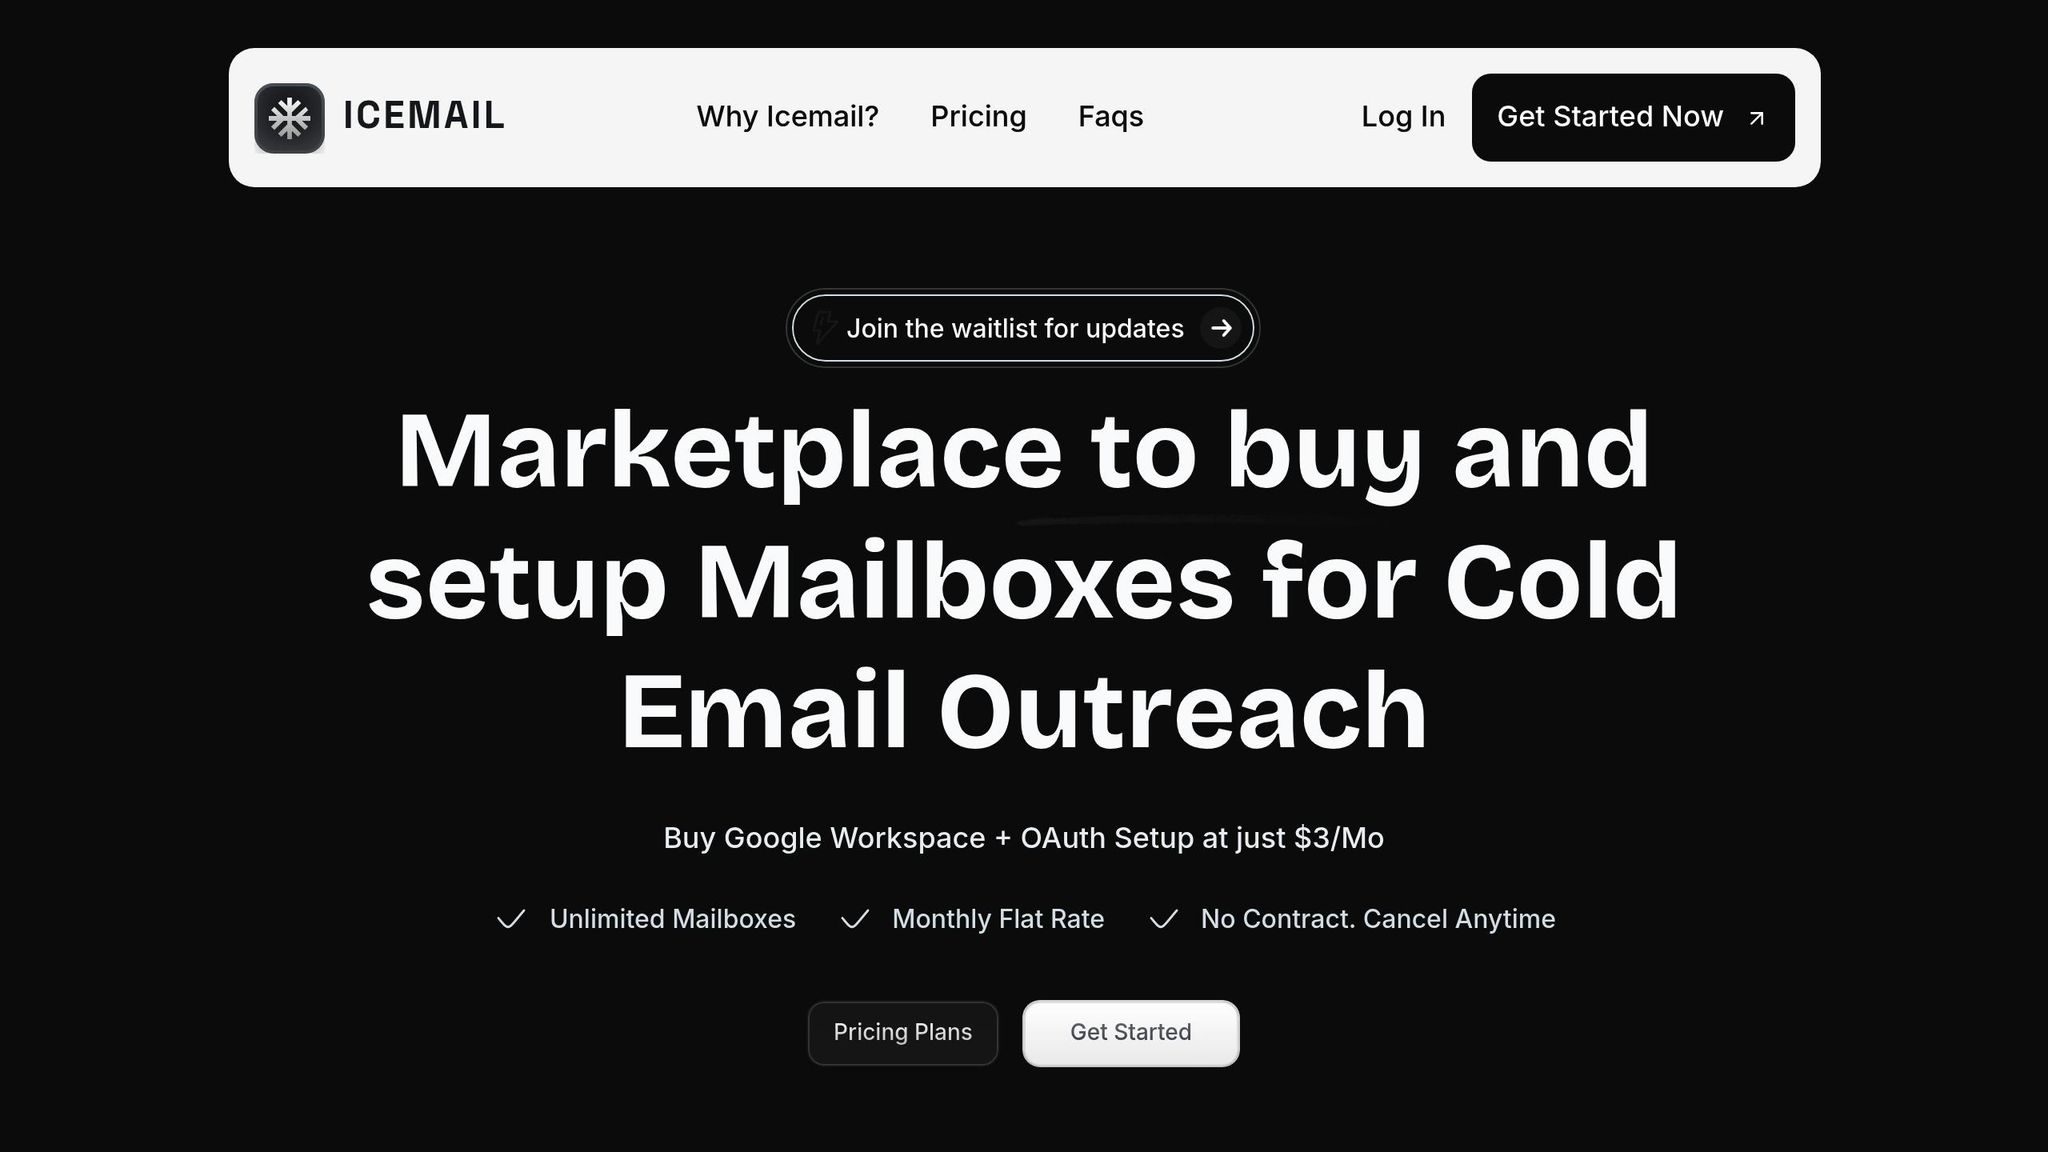
Want to simplify the process? Platforms like Icemail.ai automate DKIM, SPF, and DMARC setup for faster, error-free configuration.
Take action today to secure your emails and protect your brand!
How to Set up DKIM? Step-by-step Guide
How to Set Up DKIM Step by Step
DKIM plays a crucial role in securing your email. Here's a straightforward guide to help you set it up for your domain.
Creating Your DKIM Keys
DKIM works by using a private key to sign outgoing emails and a public key, published in your DNS, to verify those signatures.
- For third-party email service providers (like Google Workspace or Microsoft 365): These platforms handle private key storage for you. Simply log in to your email service provider's admin portal, navigate to the DKIM or email authentication settings, and the system will generate the keys. You'll then receive the public key to add to your DNS records.
- For self-hosted email servers: You'll need to generate the keys yourself. Tools like OpenSSL commands, online DKIM generators, or specialized software such as EasyDMARC's DKIM Generator can help.
"A DKIM record generator is your very own DKIM wizard that helps you instantly create an error-free and accurate TXT record for your domains." - PowerDMARC
Key Length Recommendations
For better security, use a key length of at least 1,024 bits. However, 2,048 bits is the preferred standard. If you're unsure, online tools like the one from SocketLabs (http://www.socketlabs.com/services/dkwiz) can guide you through generating both the key and its corresponding policy record.
Adding DKIM Records to Your DNS
Once your keys are ready, the next step is to publish the public key in your DNS records. This allows receiving email servers to verify your messages.
Understanding the DKIM Record Format
DKIM records follow this structure: selector._domainkey.example.com (where "selector" distinguishes between multiple keys). Your email service provider will typically supply both the selector name and the public key value.
Steps to Update Your DNS
- Log into your domain registrar or hosting provider where your DNS records are managed.
- Go to the DNS settings section and add a new record.
- Depending on the length of your DKIM value, choose:
- CNAME record for shorter values.
- TXT record for longer values.
- In the "Host" or "Name" field, input the DKIM selector (the part before
_domainkey). In the "Value" field, paste the public key provided by your email service provider.
Once the record is added, you can proceed to enable DKIM within your email platform.
Turning On DKIM in Your Email System
With your DNS records in place, the final step is to enable DKIM signing. The process varies depending on your email platform.
- Google Workspace: Go to Admin Console > Apps > Google Workspace > Gmail > Authenticate email. Generate a DKIM key, add the TXT record to your DNS, and enable DKIM signing once verification is complete.
- Microsoft 365: Navigate to Security & Compliance Center > Threat Management > DKIM. Microsoft will automatically create DKIM keys, but you'll need to publish the provided CNAME records in your DNS before enabling signing.
- Other platforms: Locate the DKIM or domain authentication settings, copy the DNS records provided, add them to your DNS, and enable DKIM signing after verification.
Once activated, you can test your setup to ensure it's working as expected.
Testing Your DKIM Setup
Testing your DKIM setup is essential to confirm everything is configured correctly and your emails pass authentication checks.
Verification Tools
Use online checkers like EasyDMARC's DKIM checker or command-line tools like dig and nslookup to verify your DNS record. For example:
dig txt google._domainkey.easydmarc.usnslookup -q=txt selector._domainkey.yourdomain.com.
These tools reveal what receiving servers see when they check your DKIM record.
Analyzing Email Headers
Send a test email and inspect its headers for the "DKIM-Signature" field. The "d=" tag should confirm the email is signed with your domain's DKIM key. Additionally, check the "Authentication-Results" field to see if the email passed DKIM validation.
"A DKIM record check identifies problems in your DKIM record syntax and verifies the presence of a public record associated with a given selector. With these insights, you can enhance your email authentication and straighten your domain security." - GlockApps
Monitoring for Ongoing Success
Regularly review your DMARC aggregate reports. These reports provide insights into how DKIM is performing across various email providers and help pinpoint any issues before they affect deliverability.
Testing isn't a one-and-done task. Consistent monitoring ensures your DKIM setup stays effective, even as you make changes to your DNS or email systems.
Managing DKIM for Multiple Domains and Long-Term Use
Once you've set up DKIM, managing it effectively over time is essential to maintain strong email security and consistent deliverability. Handling DKIM across multiple domains can be tricky, as each domain requires its own authentication configuration. For instance, you might set up separate DKIM records for transactional emails and marketing campaigns within the same domain. Using subdomains like transactional.yourdomain.com and newsletter.yourdomain.com can help keep email streams distinct, making it easier to troubleshoot and manage deliverability. To do this, publish unique TXT or CNAME DNS records for each domain or subdomain with specific selectors. Regularly updating your keys is another critical step to maintain security.
Setting Up DKIM for Multiple Domains
When managing several domains, consistency is key. Use a uniform naming convention for selectors across all domains to simplify maintenance and reduce errors. Keep a detailed record of each domain’s DKIM setup, including selector names, key generation dates, and the team members responsible for managing them. This documentation can save time and prevent confusion down the line.
Updating DKIM Keys for Security
To keep your DKIM setup secure, rotate your keys every 6–12 months. Use multiple selectors to make the process seamless: publish the new keys, wait 24–48 hours for DNS propagation, and then switch to the new keys before removing the old ones. Timing your key rotations during periods of low email traffic can help minimize disruptions.
Fixing Common DKIM Problems
After updating keys, you might encounter some challenges. Here’s how to tackle common DKIM issues:
- DNS Errors: Verify that your DNS settings, including selector names and key lengths, match your DKIM configuration. Mismatches can lead to validation failures.
- Propagation Delays: Allow DNS changes to fully propagate (typically 24–48 hours) before switching to new keys to avoid temporary failures.
- Header Order Issues: Ensure all email modifications happen before DKIM signing. For example, one financial institution ran into issues when its email server added security headers after DKIM signing, causing signatures to fail because the headers didn’t match.
- Unauthorized Sources: Watch for unauthorized third-party services sending emails on your behalf without proper DKIM signing. For example, a school district discovered that emails from an unauthorized service were failing DKIM checks and landing in spam folders.
- Key Expiration: Stick to a regular rotation schedule and update DNS records before keys expire to prevent authentication failures.
Maintaining thorough documentation of your DKIM configurations across all domains is a proactive way to streamline troubleshooting and ensure long-term success.
Email Platform Comparison for DKIM Setup
Setting up DKIM properly is essential for ensuring your emails reach their intended recipients. Different email platforms handle DKIM configuration in various ways - some require manual input, while others streamline the process through automation. Understanding these differences is key to selecting the right platform for your email authentication needs.
Platform Feature Comparison
Traditional email providers often rely on manual processes for DKIM setup. This includes generating keys, configuring DNS records, and troubleshooting issues, which can be especially challenging when managing multiple domains.
On the other hand, modern platforms focus on automation. For instance, Zapmail.ai offers automated setup for DKIM, DMARC, and SPF protocols. Similarly, InboxAutomate simplifies the process by automating all three authentication protocols.
Mailforge.ai takes a slightly different route by automating technical tasks but requiring users to transfer their domain nameservers. While this approach reduces technical complexity, it can limit flexibility for businesses with intricate DNS setups.
| Feature | Traditional Providers | Zapmail.ai | Icemail.ai |
|---|---|---|---|
| DKIM Setup | Manual | Automated | Automated |
| DNS Management | Manual | Limited | Full Control |
| Bulk Updates | Not Available | Limited | One-Click |
| Domain Management | Manual | Basic | AI-Powered |
Now, let’s explore how Icemail.ai stands out by leveraging these features for a streamlined DKIM setup.
Why Icemail.ai Works Better
Icemail.ai sets itself apart by offering AI-powered domain management that simplifies the entire DKIM configuration process. What used to take hours can now be done in minutes, making it an ideal solution for businesses juggling multiple domains. The platform eliminates the trial-and-error nature of manual setups, ensuring accurate configurations every time.
One of the standout features of Icemail.ai is its one-click bulk updates. This is especially useful for organizations that regularly rotate DKIM keys - a recommended security practice every 6–12 months. Unlike competitors like Zapmail.ai and InboxAutomate, Icemail.ai allows you to update all configurations across multiple domains simultaneously, avoiding the downtime and coordination headaches that often come with manual updates.
The platform also integrates seamlessly with major email providers, ensuring a smooth setup process. Its 10-minute onboarding includes automated DKIM, DMARC, and SPF configuration, meeting the latest requirements from providers like Google and Yahoo, which now mandate DKIM authentication for bulk emails.
Additionally, Icemail.ai’s integrated DNS management eliminates the need to switch between different tools or platforms. This unified approach not only reduces the risk of errors but also makes ongoing maintenance more straightforward. Given that mistakes in DKIM setup can harm email deliverability and damage your sender reputation, this level of reliability is crucial for maintaining trust and efficiency in email communications.
Key Points and Next Steps
DKIM plays a crucial role in securing your email communications by verifying sender identity and ensuring message integrity. Understanding its advantages and having a clear implementation plan can set your business up for long-term success in email deliverability and trust.
How DKIM Benefits Your Business
DKIM works by providing encrypted verification of your sender identity. It generates a digital signature that receiving servers use to confirm an email's authenticity, ensuring it was sent by an approved source. This process not only combats spoofing but also enhances email deliverability. According to research from DMARCLY, implementing a full DMARC policy that includes DKIM can increase deliverability and campaign performance by over 10% with major providers like Gmail. Additionally, valid DKIM signatures help safeguard your brand's reputation by signaling to email servers that your messages are legitimate, building trust over time.
Your DKIM Implementation Plan
After recognizing DKIM's benefits, follow this step-by-step plan to secure your email system effectively:
- Catalog Sending Domains: Identify all domains and subdomains used for sending emails, including those managed by third-party platforms like marketing or customer support tools.
- Generate Strong DKIM Keys: Create DKIM keys with at least 1,024 bits, though 2,048 bits is recommended for greater security.
- Update DNS Records: Add the TXT record provided by your DKIM setup tool to your domain's DNS settings.
- Test Your Configuration: Send a test email to an external account and review its headers to ensure the DKIM signature appears correctly.
For ongoing security, plan to rotate your DKIM keys at least twice a year - or quarterly for enhanced protection. Using multiple selectors can help ensure seamless transitions without disrupting services. Regularly monitor DMARC reports to assess your email authentication performance and identify potential issues. As DMARCLY notes:
"Sending emails without monitoring the email authentication status is little more than a shot in the dark".
To simplify management, especially for businesses handling multiple domains or complex setups, automated solutions like Icemail.ai can be a game-changer. Icemail.ai offers a quick 10-minute onboarding process that automates DKIM, SPF, and DMARC configuration. It ensures compliance with email provider requirements while minimizing human errors. Compared to alternatives like zapmail.ai, inbox automate, cheapinboxes, mailforge, salesforge, primeforge, mailscale, and hyperinboxes, Icemail.ai stands out with its AI-powered approach and efficient results.
FAQs
What happens if I don’t set up DKIM for my emails?
Not implementing DKIM (DomainKeys Identified Mail) can create major headaches for your email communications. Without it, your emails are at a higher risk of being marked as spam or outright rejected by mail servers. This can seriously impact your ability to connect with clients and customers, disrupting important conversations and workflows.
On top of that, skipping DKIM leaves your domain open to email spoofing and phishing attacks. Cybercriminals could use your domain to send fraudulent emails, tarnishing your brand’s reputation and possibly leading to data breaches. Setting up DKIM isn’t just a technical step - it’s a crucial move to protect your domain and ensure your emails reach their intended recipients securely.
What should I do if I encounter issues like DNS errors or delays when setting up DKIM?
If you're encountering DNS errors or propagation delays while setting up DKIM, the first step is to confirm that your DNS records - typically one TXT record and sometimes CNAMEs - are configured accurately. Even the smallest mistake can lead to setup failures, so ensure they match the exact details given by your email service provider.
Remember, DNS changes can take up to 48 hours to fully propagate. To check if your records are live, use a DNS checker tool. Want to speed things up next time? Lower the TTL (Time to Live) value before making any changes. If issues continue, revisit your provider’s DKIM setup instructions or reach out to their support team for help.
Why should I rotate DKIM keys regularly, and how can I do it without disrupting email delivery?
Rotating your DKIM keys on a regular basis is a smart move to keep your email system secure. Experts suggest refreshing these keys every six months to minimize the chances of a key being compromised and to ensure your emails stay authenticated and protected.
To simplify the process, take advantage of DKIM selectors. These allow you to introduce new keys while keeping the old ones active. This way, emails signed with the old key will still pass verification as the new key takes over. Plan your rotations ahead of time, check that the new keys are correctly set up in your DNS records, and only remove the old keys once you're confident everything is functioning as it should. This approach ensures your emails remain both secure and reliably delivered.